Field deployment
This section describes the steps you'll take for a typical field deployment, starting with some tips for success.
Tips for success
Protect equipment from the elements
Instruments deployed outdoors for long periods of time are bound to experience a wide range of elements and challenges inherent to working in remote locations. While LI-COR instruments are intended to withstand rigorous field research, there are steps you can take to ensure your equipment continues to perform at its peak.

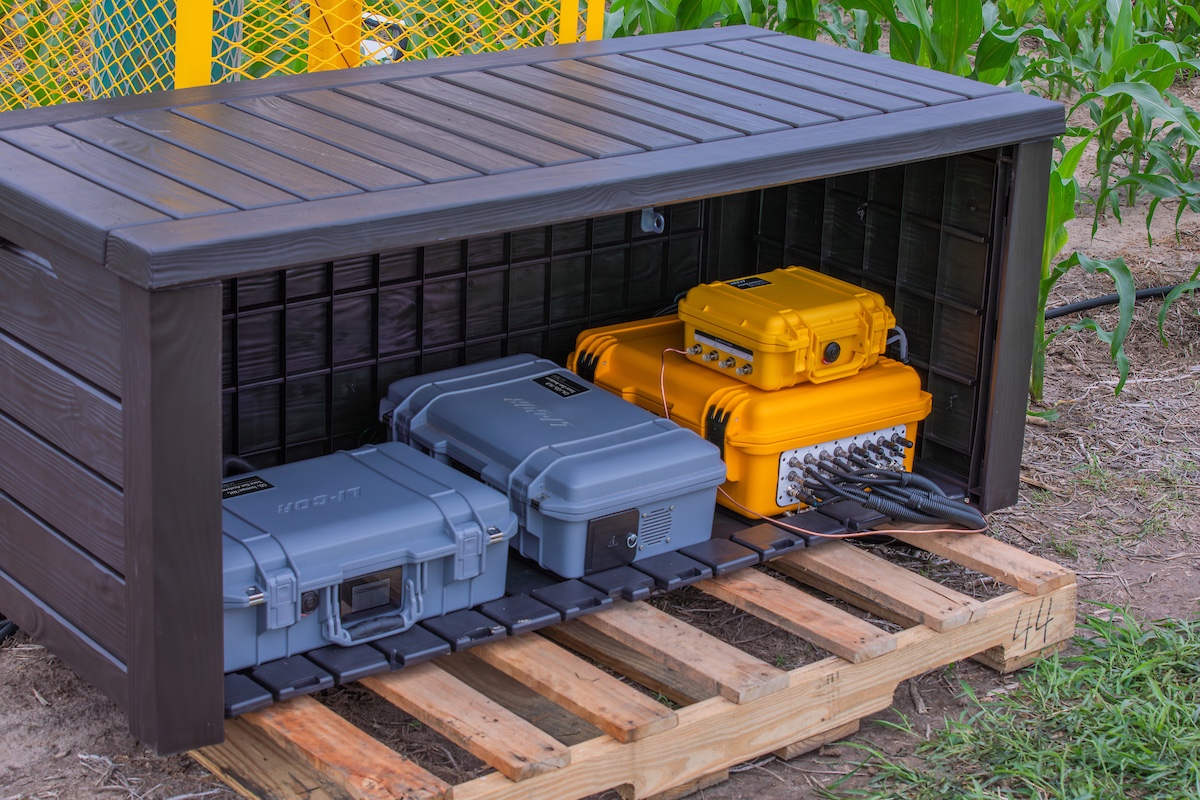
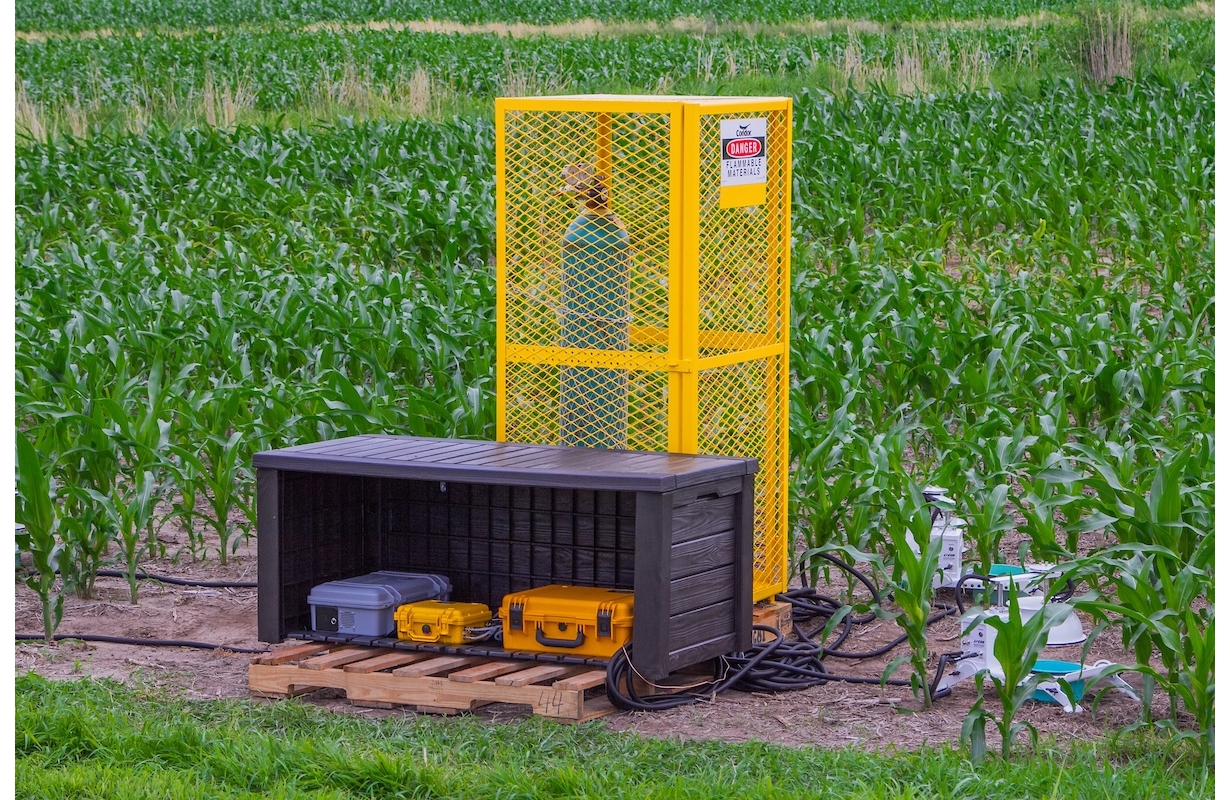
The LI-8250 Multiplexer, 8250-01 Extension Manifold, LI-870 CO2/H2O Analyzer, and 8250-02 Calibration Manifold are weatherproof. If the site is prone to flooding or heavy snow, place the instruments on a pallet or other object to keep them above ground level. If the instruments are subject to significant solar loading, cover them to provide shade and ensure they remain within the operating temperature range.
The LI-78xx Trace Gas Analyzers are weather-resistant, but they are not weatherproof. For an LI-78xx Trace Gas Analyzer to be deployed in the field for extended periods, they must be covered and elevated. The cover can be something simple, such as a tent or pet shelter.
Secure equipment for a safe installation
If you are using tanks of compressed gas with the calibration manifold, follow all safety guidelines from the tank supplier and any regulations from local authorities. Do not set tanks directly on the ground or lay them over.

Understand soil collar height, position, and effects
Optimal collar height will depend upon site conditions and the length of time the collars will be used at a given site. At a minimum, the collar should be inserted into the soil to a depth that gives a solid foundation so the collar does not move when placing the chamber on the collar.
As insertion depth is increased, lateral diffusion of gases in the soil column below the chamber will be reduced. The advantage of this is that lateral diffusion can be a source of error in the measurement, but the disadvantage is that as insertion depth increases, the possibility of root shearing increases. Collars may become loose over time and should be moved if this occurs.
Long-term Soil Chamber collars should extend 3 cm or more above the soil surface; Automated Canopy Chamber collars extend at least 2.57 cm. With greater extension there is increased shading and perturbation of air movement. Over the long term, these perturbations could result in changes of evaporation rate, soil temperature, and soil moisture.
Make sure the soil collar does not shift when placing the chamber on it. With Long-term Soil Chambers, the chamber edge should be as close to the soil surface as practical so that air flow within the chamber causes mixing near the soil surface while minimizing the amount of the collar that extends into the chamber.
The collar height is used to the determine the volume of air inside the soil collar, which is in turn used to calculate the total system volume. The collar height is measured by the distance between the soil surface and the upper edge of the chamber base plate.
Tip: Want to make your own soil collar? See Making collars for LI-COR soil chambers.
Consider the chamber location
Sample location should be representative of the site. Avoid choosing locations that will bias the measurements. Do not install the chamber over areas of standing water or hollows where flooding is a possibility. For the best results, choose a flat soil surface to deploy the chamber. Remove large debris from the soil surface, if needed.
Choose the ideal chamber orientation
Orient the chamber so that most of the shadows from the structure are cast away from the collar area to prevent shading effects. Even with this orientation, the collar and chamber may still shade the sample area. Temporal variations in light intensity inside the collar area will occur due strictly to shading from both the chamber and foliage in and around the collar, as the sun moves across the sky. It is important to consider these temporal variations when examining flux data. Guidance is given in Long-term Soil Chambers and Automated Canopy Chambers.
Allow time to pass between collar installation and measurements
Automated Canopy Chamber collars should be installed at least 48 hours before taking measurements, but 1 to 2 weeks is recommended. Long-term Soil Chamber collars should be installed at least 6 hours before taking measurements, but >24 hours is recommended. The time to wait after collar installation depends on conditions of the field site. For example, tilled agricultural soil may recover in a few hours to a few days. In contrast, forest soils with high root density may require much more time.
Collect supporting data
The LI-190R Quantum Sensor can be connected to chambers to measure PAR at the chamber. This sensor is available in a package (part number 190R-8200) that includes an LI-190R and leveling stake to mount and level the sensor. These data are needed for Net Ecosystem Exchange (NEE) measurements.
The LI-200R Pyranometer can be connected to chambers to measure solar radiation at the chamber. This sensor is available in a package (part number 200R-8200) that includes an LI-200R and leveling stake to mount and level the sensor.
Stevens HydraProbes (SDI-12) measure soil moisture and temperature at the chamber. HydraProbes can be connected to each chamber.
See Using sensors with chambers for details about chamber sensors.
