Printable PDF: Collecting Subsamples from the LI-8100A
(8100_AppNote_Collecting_Trace_Gas_Samples_08937)
Download this content as a pdf that can be saved to your computer or printed.
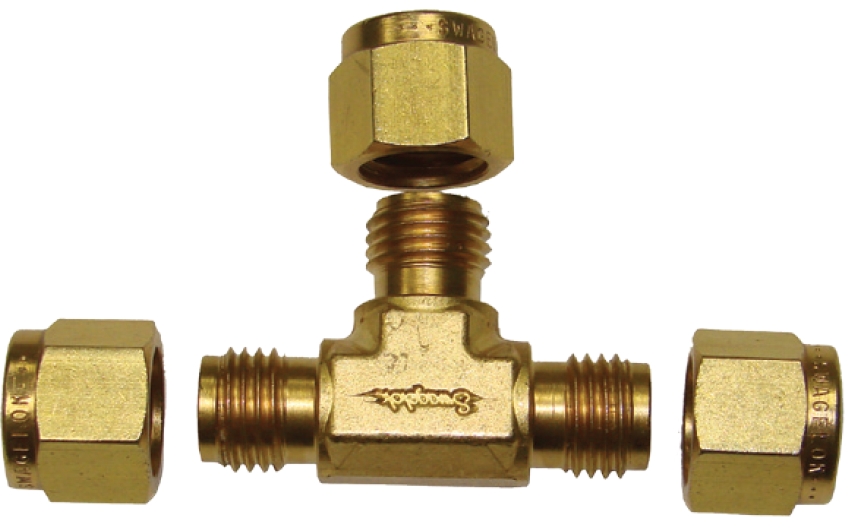
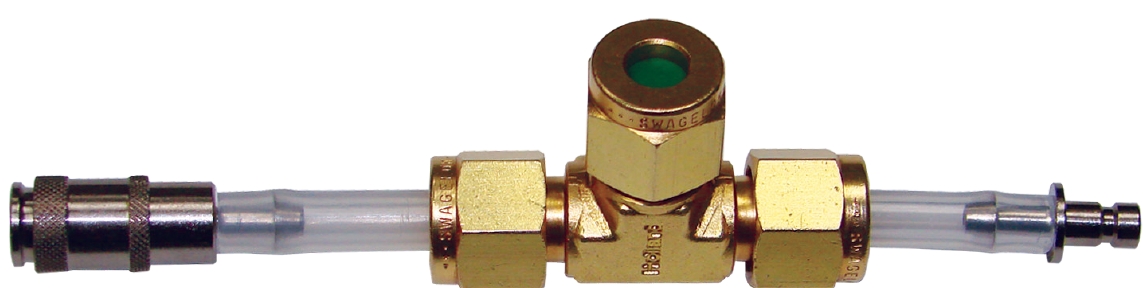
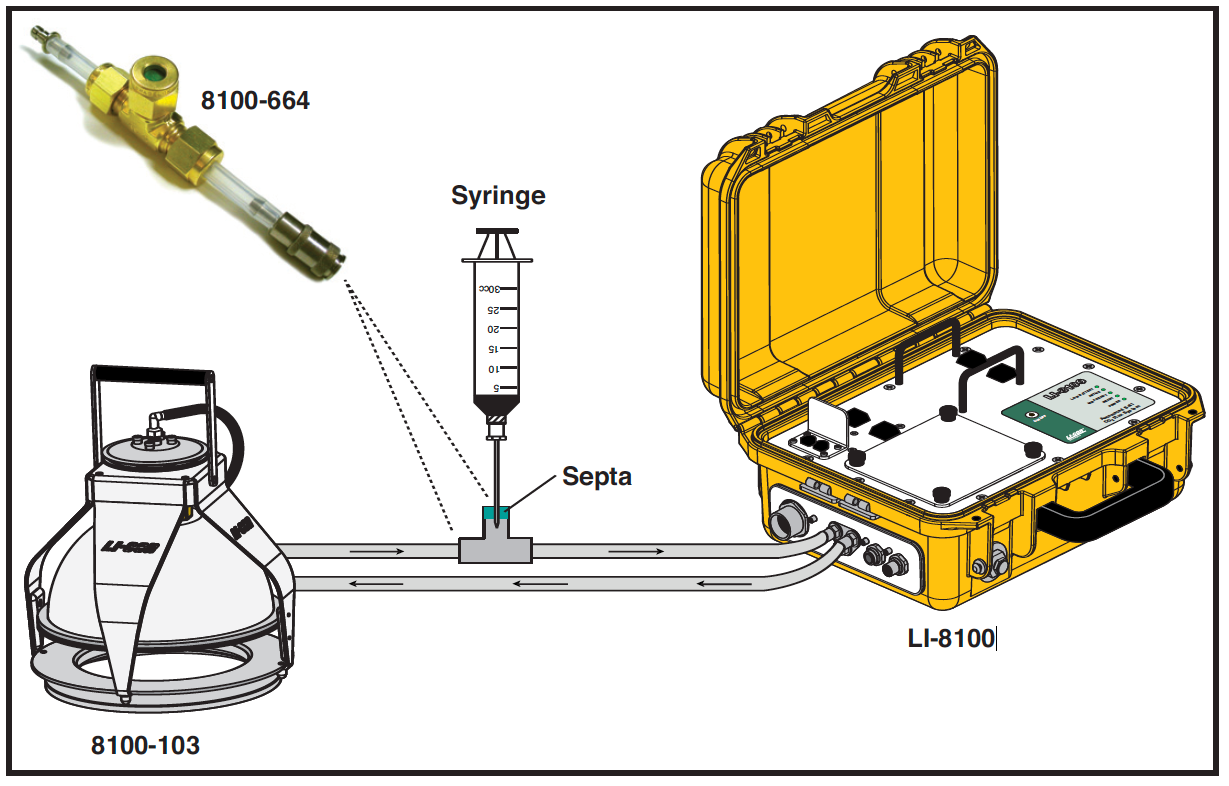
Assemble the Trace Gas Sampling Kit for the LI-8100A using the T-shaped compression fitting, two sets of ferrules, a septum, and tubing lengths with quick-connect fittings according to the following instructions.
- Remove the brass nuts from the compression fitting.
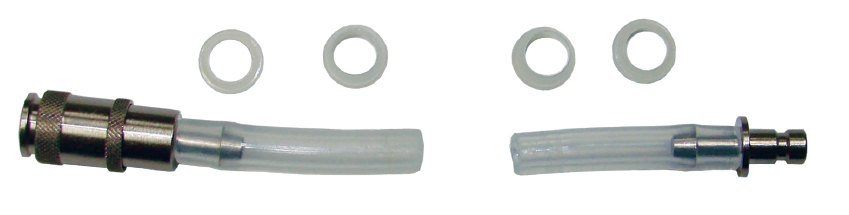
- Locate the tubing with quick-connect fittings and two sets of ferrules.
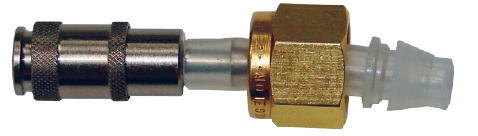
- Install a brass nut on each end of the tubing assemblies, and then install one set of ferrules on each assembly as shown.
- Note the orientation of the ferrules. The smaller, beveled piece must be installed first, facing the correct direction. When installed, the end of the tube should extend approximately 3 mm (1/8") beyond the ferrules.
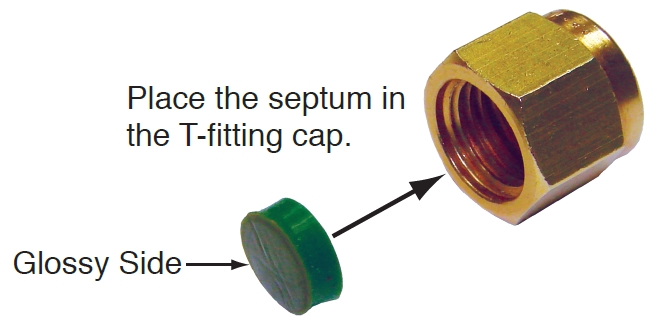
- Insert the septum into the remaining nut.
- The septum has a self-sealing plastic coating on one side (identified by the glossy coating). For optimum sealing, install the septum with the glossy side facing the T-fitting.
- Tighten the nuts on the T-fitting.
- Do not over-tighten them, as this could create leaks around the septum and ferrules.
- Install the assembly in line between the LI-8100/A and the flux chamber.