Installing the LI-5700A
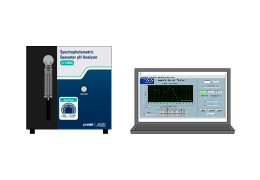
The LI-5700A is designed to be installed in a temperature-controlled room or laboratory that is protected from outdoor conditions. It should be placed on a lab bench with space for the LI-5700A control unit, the Cary 60, and the computer. Be sure power is nearby, as well as space for the sample containers and waste water collection containers.
The components are heavy. Lift with two people or use mechanical assistance when moving the instruments.
Connecting the power supply
The control unit, Cary 60, and laptop computer come with their own AC power cords. Connect the power cords to each component and then to a wall outlet (100 to 240 VAC; 50 or 60 Hz). A surge protector may be used to protect the instrument. An uninterruptible power supply may be used if the power supply is not dependable.
Connecting data cables
The computer is configured to start up and log in automatically (the default user account is called Apollo). The essential software, configuration files, and drivers are installed on the computer before delivery. We recommend that this computer be dedicated to the LI-5700A system.
-
Connect the USB hub to the computer.
-
Connect the control unit to the USB hub with the USB-to-RS-485 adapter cable.
-
Connect the Cary 60 to the USB hub with the USB cable.
Connecting a water bath
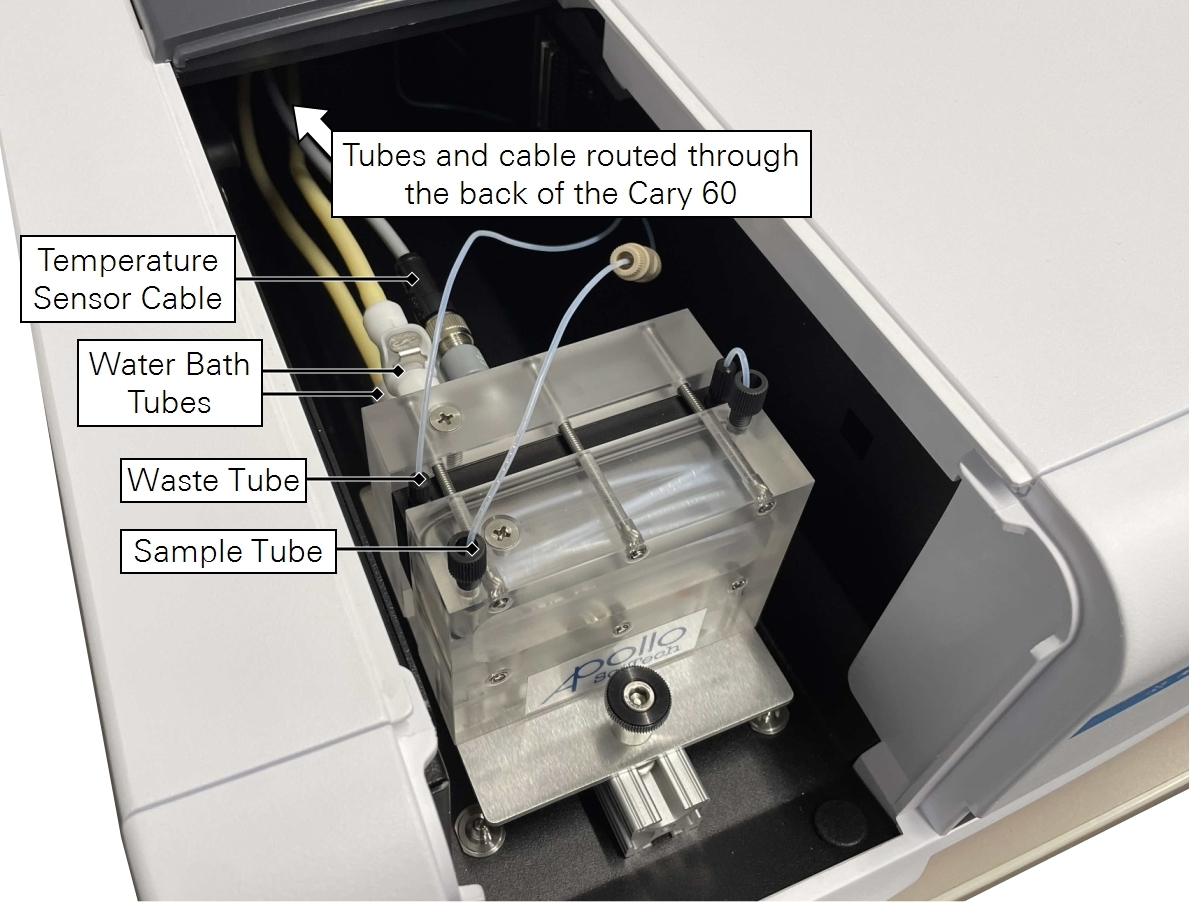
The water bath tubing (included) attaches to the back of the flow cell. Each tube connects to a water bath (not included). During measurements, use the water bath to maintain a sample temperature of either 20 ˚C (recommended by Carter et al., 2013) or 25 ˚C (by others).
-
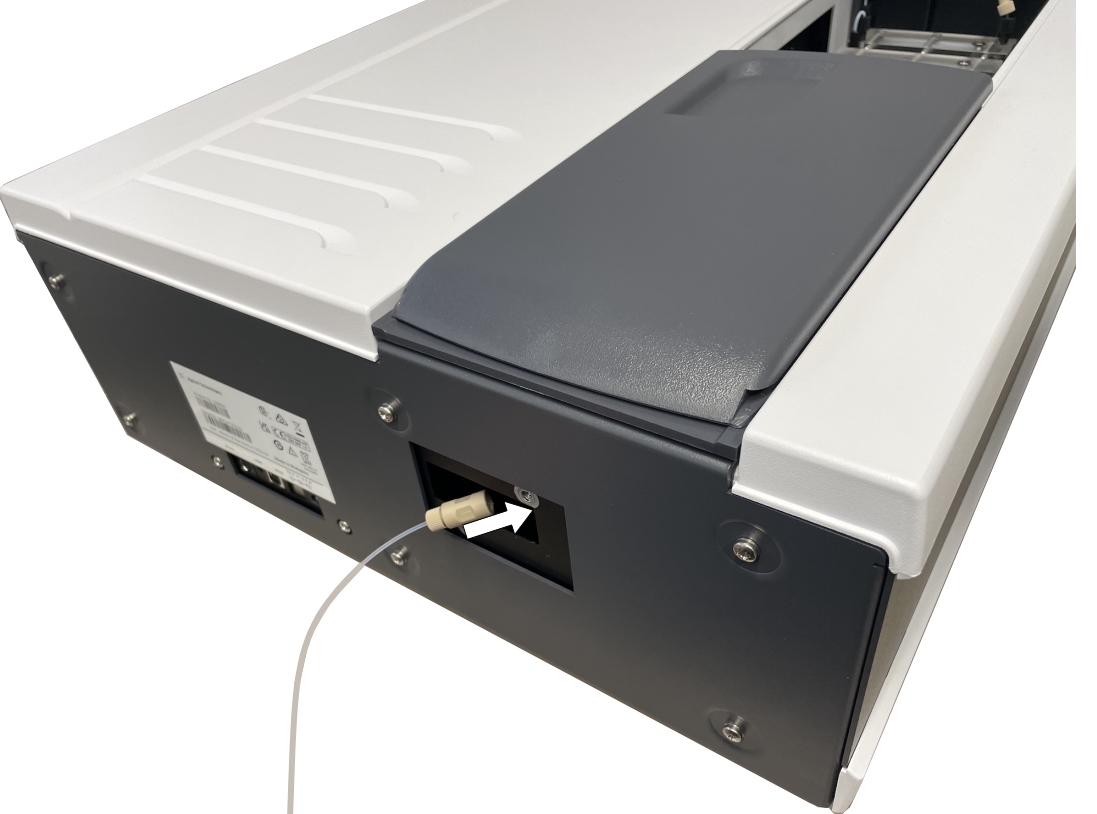
Remove the cover plate from the back of the Cary 60.
Keep it nearby for later installation. The water bath tubes, sample tubes, and temperature sensor cable will pass through this opening.
-
Route the water bath tubes through the opening.
-
Connect the tube from the water bath to the bottom connector and the other tube to the top connector.
Although the sample coil can effectively bring the water sample to the water bath temperature, for best result, pre-condition the sample bottles to room temperature if room temperature is within a few degrees of the water bath temperature.
Installing the flow cell in the Cary 60
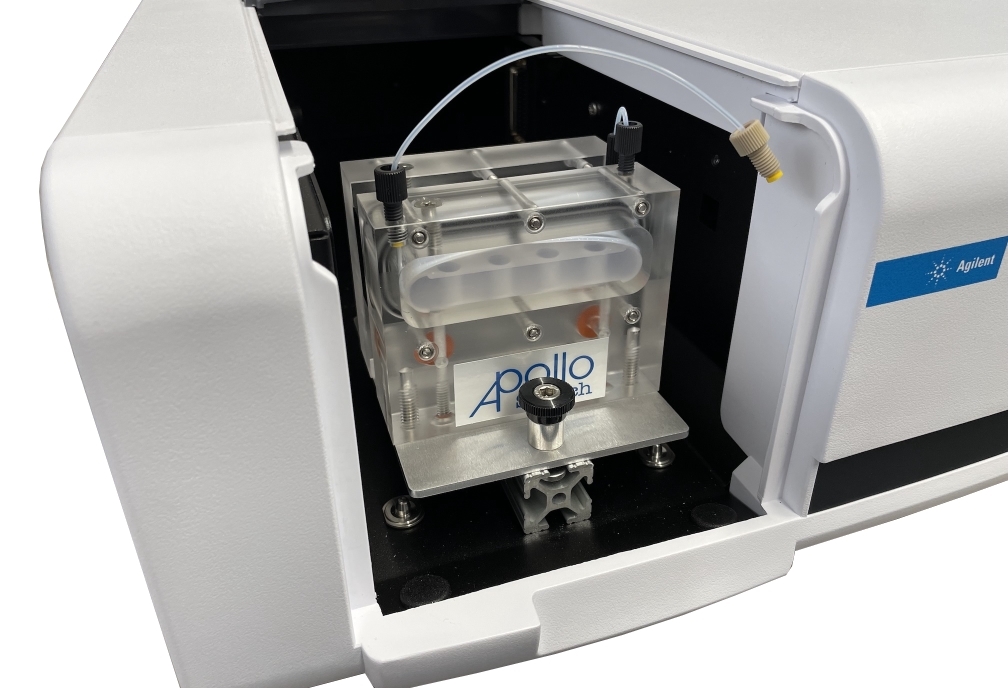
The flow cell locks onto the rail in the Cary 60 optical opening.
-
On the Cary 60, remove the front cover and slide the top cover back to give access to the optical bench.
-
On the flow cell, loosen the two thumb-screws, align the tabs with the rails, and then slide the flow cell into the opening.
It must be positioned precisely or the rail clamps will not fit onto the rail.
-
Slide the flow cell into position, aligning the flow cell windows with the optical windows in the Cary 60.
The flow cell must be aligned with the light path of the Cary 60 spectrophotometer. If desired, mark the center of the light path with tapes and pencil-marks to verify that the flow cell is properly aligned with the center of the light path.
-
Tighten the two thumb-screws to lock the flow cell into place.
Connect tubes and cables to the flow cell
Water bath tubes, sample tubes, and the temperature sensor data cable all connect to the flow cell. You can connect these parts while the flow cell is out of the Cary 60 or after it is installed.
-
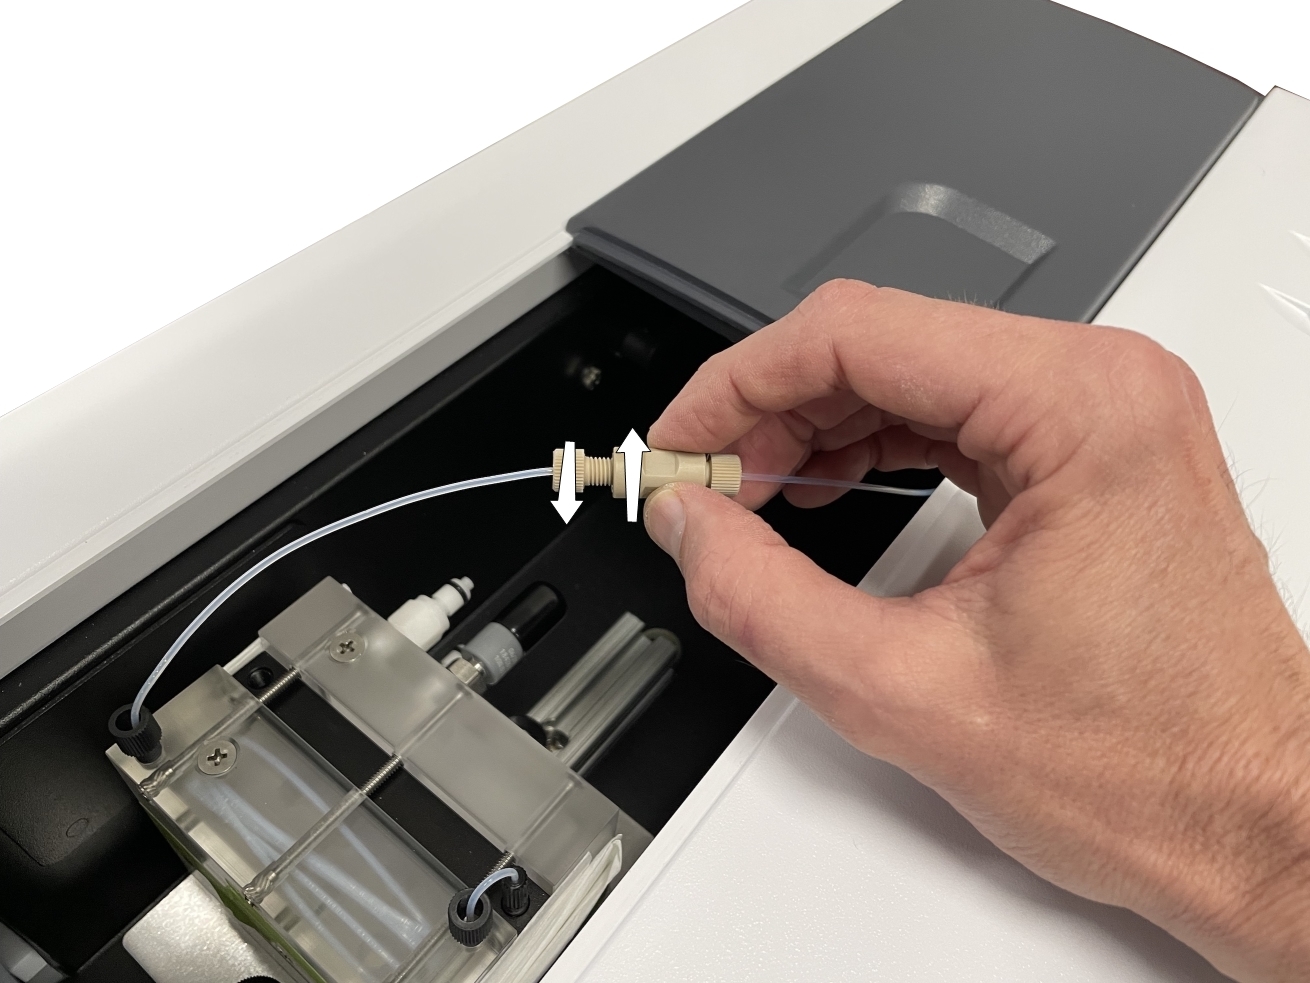
Route the sample tube through the back of the Cary 60.
-
Connect it to the sample tube on the flow cell.
-
Connect the temperature sensor cable to the connector on the back of the flow cell.
-
Connect the other end of the cable to the Temperature Sensor Connector on the back of the control unit.
-
Replace the cover plate.
Loosely fasten the two screws to secure cover plate and tubes in place. Be careful to not pinch the tubes. This allows you to further reduce noise in the pH measurement caused by variations in ambient light.
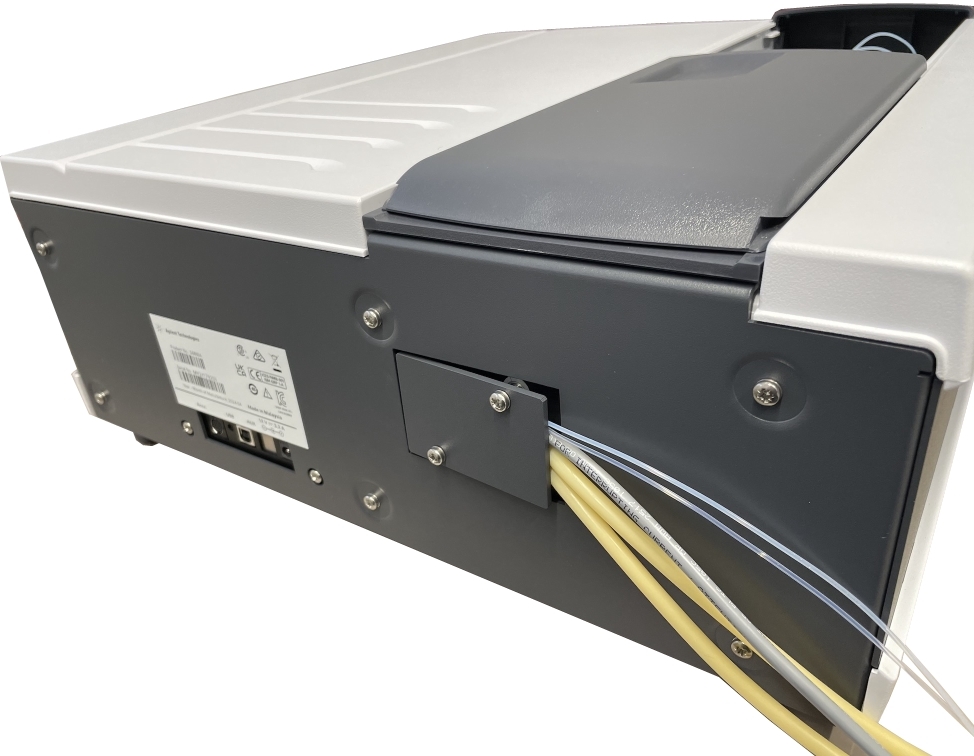
Figure 2‑1. The sample inlet and outlet lines, along with the water bath tubing and temperature sensor cable pass through the opening on the back of the Cary 60. The cover can be installed loosely to prevent light from entering the optical bench.
