Selecting the Power Supply Frequency
Printable PDF: Selecting the Power Supply Frequency
Instructions for selecting the power supply frequency.
The instructions below are revisions (indicated in red) to page 2-5 of the LI-3100C Instruction Manual, June 2004, issued April, 2010.
Voltage Selector Operation and Characteristics
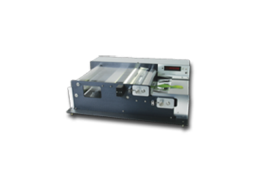
The voltage selector is located in the power connector module (Figure 1‑1). The selector is inspected for proper voltage by sliding the clear plastic window to the left, over the power connector. The visible number on the small printed circuit board located under the fuse indicates the selected voltage as follows:
- Either 100 or 120 V for 105-126 VAC operation, use 1 amp fuse provided.
- Either 220 or 240 V for 210-252 VAC operation, use 1/2 amp fuse provided
Notice that the visible number is not the actual operating voltage. The instrument will not function reliably on 100 VAC.
The voltage selector is changed by sliding the circuit board outward from its mount and repositioning it so that a different number is visible as appropriate to the available voltage. When ready, snap in the correct fuse.
The instrument calibration is affected by the Mains frequency, so units are factory pre-set according to the frequency expected at the destination, and then marked with a label attached to the rear cover. Large changes (60 to 50 Hz or vice versa) will produce a measurement error of between 0.5 and 5 percent, depending on the type of sample. If you need to adjust for an alternate frequency of use, adjust your CAL setting by either of the following methods described below. When changing to 50 Hz, you will be raising the numbers by turning the CAL adjust screw (on the instrument front panel) clockwise, and lowering the numbers by turning counterclockwise when changing to 60 Hz.
- Use the 9931-021 Perforated Calibration Plate, following the instructions provided with the Plate, and the instructions in Section 3.4 of the LI-3100C Instruction Manual.
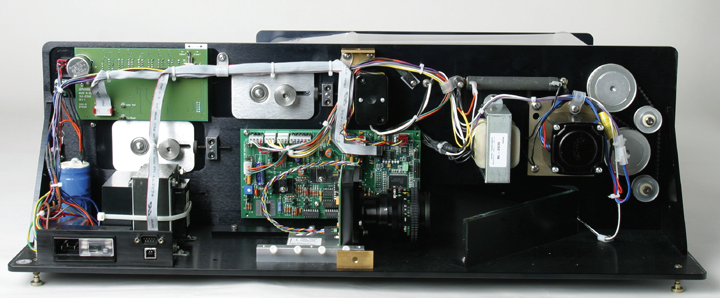
- A quicker procedure (valid for a new instrument with original lamp re-installed) is possible for persons skilled in voltage measurement. With the instrument ON, measure the DC voltage at the center lead of the CAL pot and braided grounding (chassis) strap and record the voltage (Figure 2). The voltage will be in the range of 0.5 to 1 volt. To convert from 60 Hz to 50 Hz, multiply by 1.2 and adjust CAL to read this new voltage. To convert from 50 Hz to 60 Hz, multiply by 0.833 and set this new value for CAL.